Temporary Fillings: Your Short-Term Solution for Cavity Care
April 30, 2026
What Is a Temporary Cavity Filling — and Do You Need One?
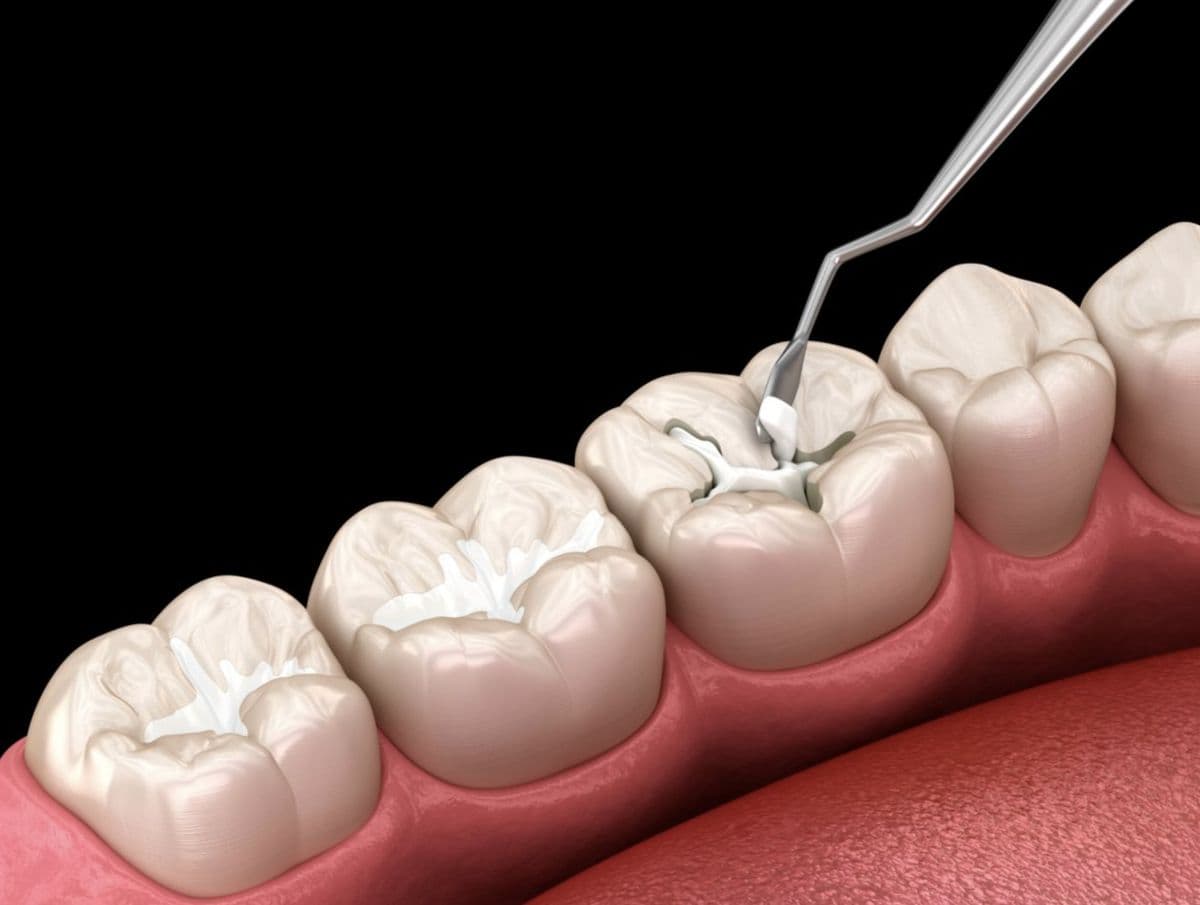
A temporary cavity filling is a short-term dental material placed over a damaged or decayed tooth to protect it until a permanent restoration can be completed. Here’s a quick summary of what you need to know:
- Purpose: Seals the tooth, blocks bacteria, and relieves pain between dental visits
- Duration: Typically lasts 1 to 4 weeks; most become less effective after 30 days
- When it’s used: After root canals, while waiting for a crown, or during a dental emergency
- Who places it: A dentist — though over-the-counter kits exist for short-term emergencies
- Next step: Always follow up with a permanent filling as soon as possible
Tooth pain rarely shows up at a convenient time. A temporary filling buys you time — protecting the exposed tooth, reducing sensitivity, and keeping bacteria out — while your dentist prepares the right long-term solution.
It’s not a fix. It’s a bridge to one.
I’m Dr. Nina Izhaky, a NYU College of Dentistry graduate and founder of Tribeca Dental Studio, where I’ve helped countless patients navigate dental emergencies including temporary cavity filling situations with personalized, mercury-free care. In this guide, I’ll walk you through everything you need to know to protect your tooth and make smart decisions for your smile.
Temporary cavity filling word roundup:
Temporary vs. Permanent: Understanding the Differences
When we talk about a temporary cavity filling, the most important thing to remember is the word “temporary.” While a permanent filling is designed to withstand the immense pressure of chewing for a decade or more, a temporary one is essentially a placeholder.
There are several key areas where these two types of restorations diverge:
Durability and Lifespan
A permanent filling, especially those made of high-quality composite resin or porcelain, can last anywhere from 7 to 15 years, and in some cases, even longer with meticulous oral hygiene. In contrast, a temporary cavity filling is formulated to be softer and easier to remove. Research shows that while they can technically stay in place for a few months, they begin to lose their effectiveness and marginal seal after about 30 days.
Material Composition
Permanent fillings are built for strength. At Tribeca Dental Studio, we focus on common filling materials like composite resin, which bonds directly to the tooth structure. Temporary fillings often utilize materials like Zinc Oxide Eugenol (ZOE). The eugenol (clove oil) has a sedative effect on the tooth’s pulp, which is great for pain relief but lacks the long-term wear resistance of permanent options.
Aesthetics
If you look in the mirror, you can usually spot a temporary filling quite easily. They are often off-white, gray, or even pink (like the original Cavit™ material). This is intentional; it helps us distinguish the temporary material from your natural tooth structure when it’s time to drill it out and place the final restoration. Permanent fillings are meticulously shade-matched to blend in perfectly with your smile.
| Feature | Temporary Filling | Permanent Filling |
|---|---|---|
| Primary Goal | Protection & Pain Relief | Function & Longevity |
| Typical Lifespan | 1 to 4 weeks | 10 to 15+ years |
| Removal | Easy (designed to be removed) | Difficult (requires drilling) |
| Material | ZOE, Cavit, Glass Ionomer | Composite, Porcelain, Gold |
| Cost | Lower ($75 – $200) | Higher (See cost guide) |
For more details on how long different dental solutions last, you can explore this guide on How Long Do Fillings Last?.
The Procedure for Getting a temporary cavity filling
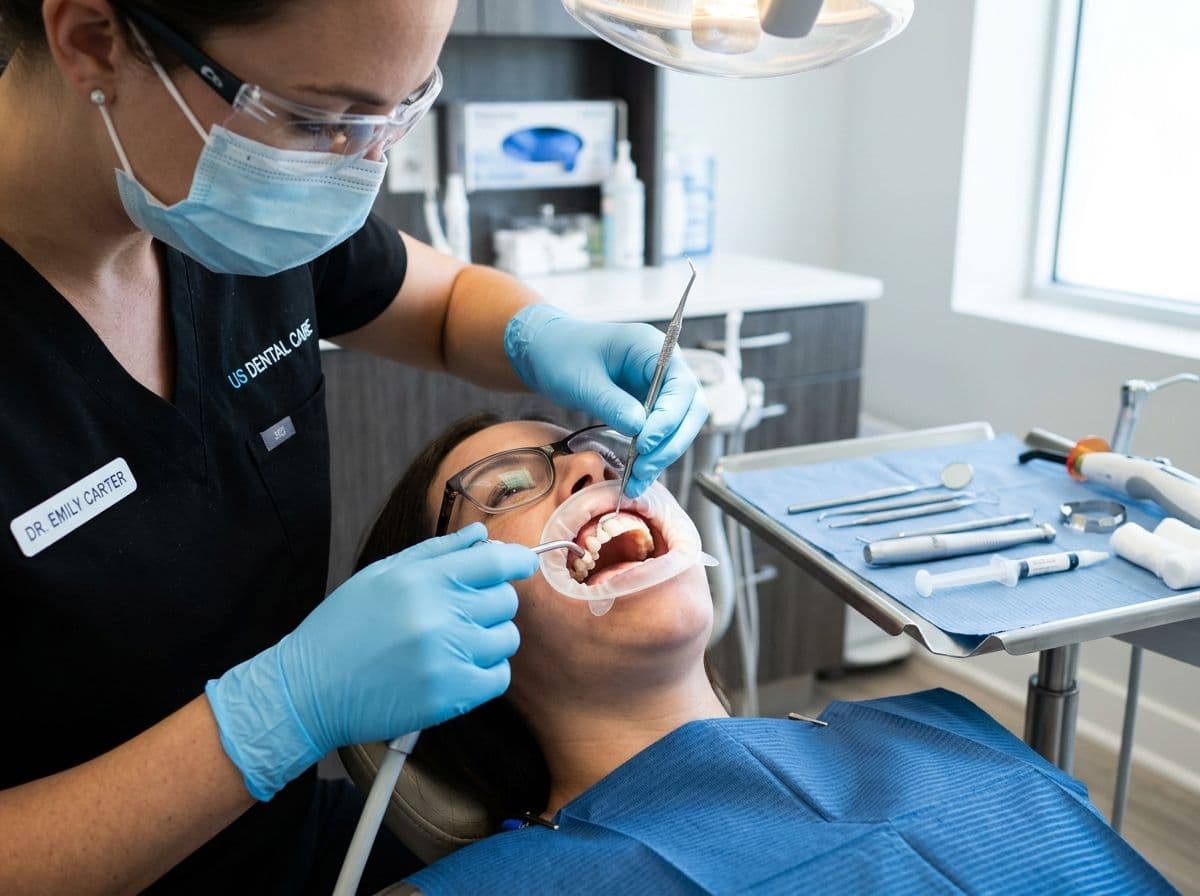
Getting a temporary cavity filling is usually a much faster and simpler process than a permanent one. In many cases, the entire procedure takes less than 30 minutes. Here is what you can expect when you visit us in Tribeca for this treatment:
1. Numbing and Preparation
While some temporary fillings for small chips might not require anesthesia, we usually numb the area to ensure you are completely comfortable. We pride ourselves on offering a painless filling process using modern techniques that minimize discomfort.
2. Decay Removal
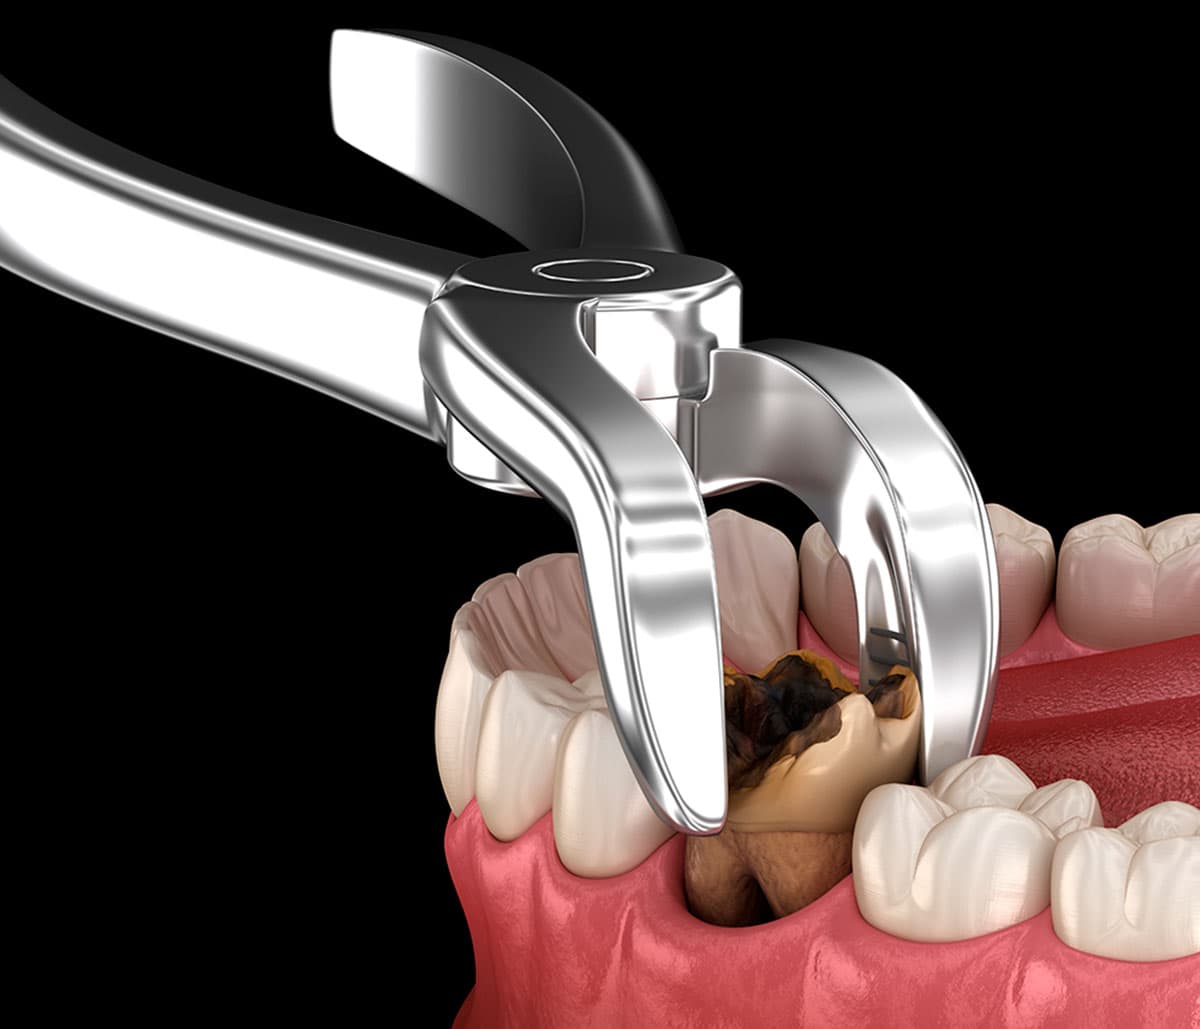
Just like a permanent filling, we must ensure the “house” is clean before we put on the “roof.” We remove any active decay or debris from the cavity. This prevents bacteria from being trapped underneath the temporary material, which could lead to an infection or an abscess.
3. Application and Curing
4. Shaping and Bite Adjustment
Once the material is in place, we shape it to match the natural contours of your tooth. We’ll ask you to bite down on a piece of carbon paper to make sure the filling isn’t “high.” If the filling is too tall, it can cause significant pain when you chew, so we adjust it until your bite feels natural.
Clinical Uses: From Root Canals to Dental Crowns
You might wonder why we don’t just put the permanent filling in right away. There are several clinical scenarios where a temporary cavity filling is actually the smarter, safer choice for your oral health.
After a Root Canal
Root canals often require two or more appointments. After the internal “pulp” of the tooth is cleaned out, we place a temporary filling to seal the access hole. This protects the canals from reinfection while we wait for the tooth to settle and ensure the treatment was successful before placing a final crown.
Waiting for a Dental Crown
If a tooth is too damaged for a standard filling, we may recommend a crown. Because crowns are often custom-made in a lab, you’ll need something to protect the “prepped” tooth in the meantime. While a temporary crown is the standard, a temporary filling is sometimes used to build up the tooth structure or seal an inlay preparation. You can read more about dental crowns after fillings to see how these treatments work together.
Emergency Pain Management
If you lose a filling on a Friday night and can’t get a full restoration until Monday, a temporary filling is an excellent “emergency band-aid.” It covers exposed nerves (dentin) which are highly sensitive to air, temperature, and pressure.
Diagnostic Tool
Sometimes, if a cavity is very deep and we aren’t sure if the nerve will survive, we place a “sedative” temporary filling. If the tooth remains calm for a few weeks, we proceed with a permanent filling. If it starts to ache, it tells us that a root canal may be necessary.
Essential Aftercare and Longevity Tips
Since a temporary cavity filling isn’t as strong as the “real thing,” you have to treat it with a little extra TLC. If you’re too aggressive, it can crack, crumble, or fall out entirely.
The Two-Hour Rule
Most temporary materials take a while to fully reach their maximum hardness. We generally advise patients to avoid eating or drinking anything besides water for at least two hours after the procedure. This gives the material time to “set” so it doesn’t wash away or get squished by your first meal.
Dietary Adjustments
While the filling is in place, your diet should shift slightly:
- Avoid Sticky Foods: Gum, caramel, and taffy are the enemies of temporary fillings. They can literally pull the filling right out of the tooth.
- Avoid Hard Foods: Nuts, ice, and hard candies can crack the relatively brittle temporary material.
- Chew on the Other Side: Whenever possible, do your heavy lifting (chewing) on the side of your mouth without the temporary filling.
Flossing Technique
This is a “pro tip” we always give our patients: when flossing around a temporary cavity filling, do not pull the floss back up through the contact point. Instead, slide the floss through, clean the area, and then pull the floss out sideways through the gap. Pulling up can snag the edge of the temporary material and dislodge it.
If you notice a change in how the filling feels, it’s important to know what to do if a filling cracks to prevent further damage.
The Importance of Professional Care: Avoiding DIY Risks
In today’s world of “do-it-yourself” everything, it’s tempting to pick up a $10 dental repair kit from a local pharmacy. While these can be helpful for a 24-hour emergency (like if you’re traveling), they are not a substitute for professional care.
The Risks of DIY Fillings
When you apply a filling at home, you run several risks:
- Trapping Bacteria: If you don’t professionally clean and disinfect the cavity, you are effectively sealing bacteria inside your tooth. This can lead to a rapid, painful infection.
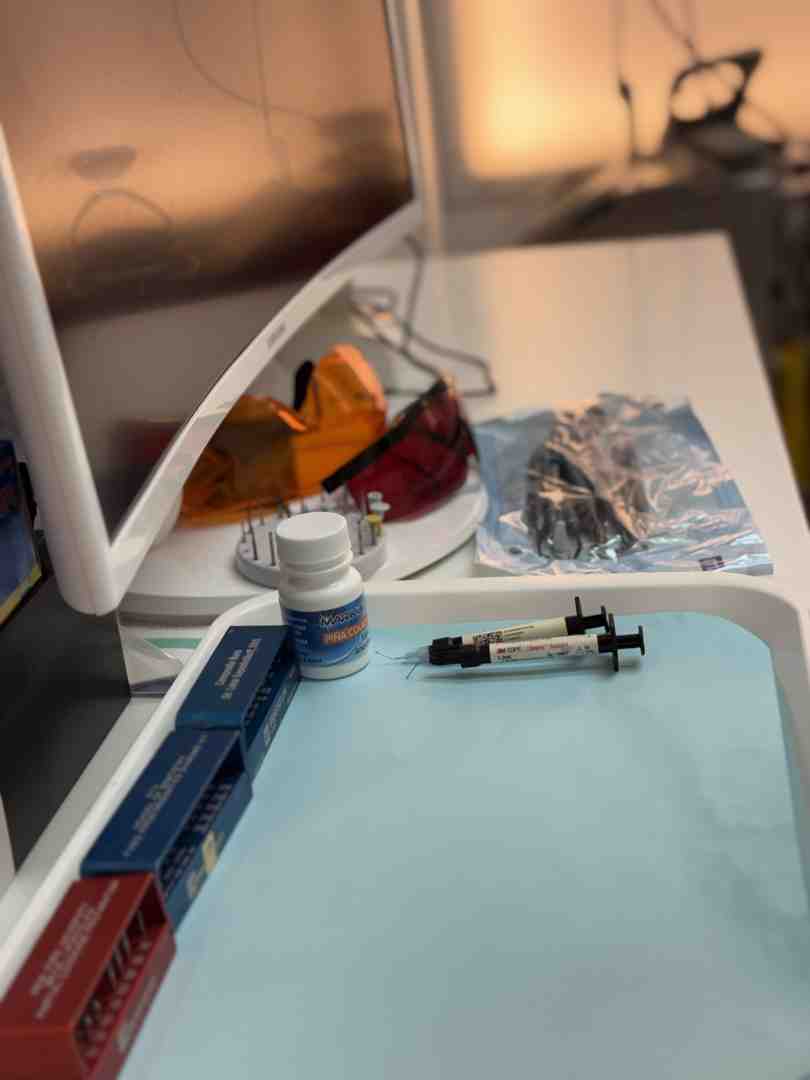
- Poor Seal: OTC materials don’t adhere as well as professional-grade 3M™ Cavit™ or Zinc Oxide cements, meaning they leak almost immediately.
- Bite Issues: Without professional tools to “adjust the occlusion,” you might leave the filling too high, which can cause trauma to the tooth ligament and lead to intense pain.
Understanding the True Cost of Self-Treatment
While a DIY kit costs very little upfront, the “true cost” can be much higher if it leads to an abscess or a fractured tooth that requires an extraction and an implant. Professional temporary fillings at a dental office generally cost between $75 and $200, which is a small investment to protect your tooth’s health. Furthermore, many insurance plans cover these as part of an emergency visit or a multi-step procedure.
Investing in a proper restoration now can save you from the higher cost of permanent fillings or more invasive surgeries later.
Emergency Steps if Your temporary cavity filling Falls Out
If your filling does come out, don’t panic, but don’t wait.
- Rinse: Use warm saltwater to keep the area clean.
- Protect: You can use a small piece of sugarless gum or a pinch of dental wax to cover the hole temporarily.
- Call Us: Contact Tribeca Dental Studio immediately. We prioritize emergencies to ensure your tooth isn’t exposed for long.
- Pain Meds: Over-the-counter pain relievers can help manage sensitivity until you get to our office.
If you’ve experienced a failure with a previous restoration, we specialize in cracked filling repair to get your smile back on track.
Frequently Asked Questions
How long does a temporary filling typically last?
A temporary cavity filling is designed to last between 1 to 4 weeks. While some materials like Cavit™ are quite hardy, they are not meant for long-term use. After about 30 days, the seal begins to degrade, allowing saliva and bacteria to seep underneath, which can cause new decay. Always make sure to attend your follow-up appointment to get your permanent restoration.
Can I eat normally with a temporary filling?
Not exactly. You should wait at least two hours for the material to set. After that, stick to soft foods and try to chew on the opposite side of your mouth. Avoid anything “sticky, crunchy, or hard.” If you must eat something tougher, cut it into very small pieces.
Is a temporary filling safe for pain relief?
Yes! In fact, pain relief is one of their primary jobs. Most temporary materials contain Eugenol, which is a natural derivative of cloves. It has analgesic (pain-killing) and antibacterial properties that soothe the “pulp” or nerve of the tooth. By sealing the tooth, the filling also prevents “thermal shock” from cold air or hot coffee.
Conclusion
A temporary cavity filling is a vital tool in modern dentistry, serving as a protective shield during emergencies or complex treatment plans. Whether you’ve just had a root canal or you’re waiting for a beautiful new crown, this short-term fix ensures your tooth stays healthy and pain-free while we work on your permanent smile.
At Tribeca Dental Studio, led by Dr. Nina Izhaky, we believe in a personalized approach to every cavity. We don’t just fill holes; we treat people. Our NYC practice uses advanced technology and a welcoming environment to make sure even “temporary” fixes feel like top-tier care.
Don’t let a lost filling or a sudden ache ruin your week. If you need expert care in Manhattan, we are here to help.