Why So Many People Are Bleaching Teeth at Home (And What You Need to Know First)
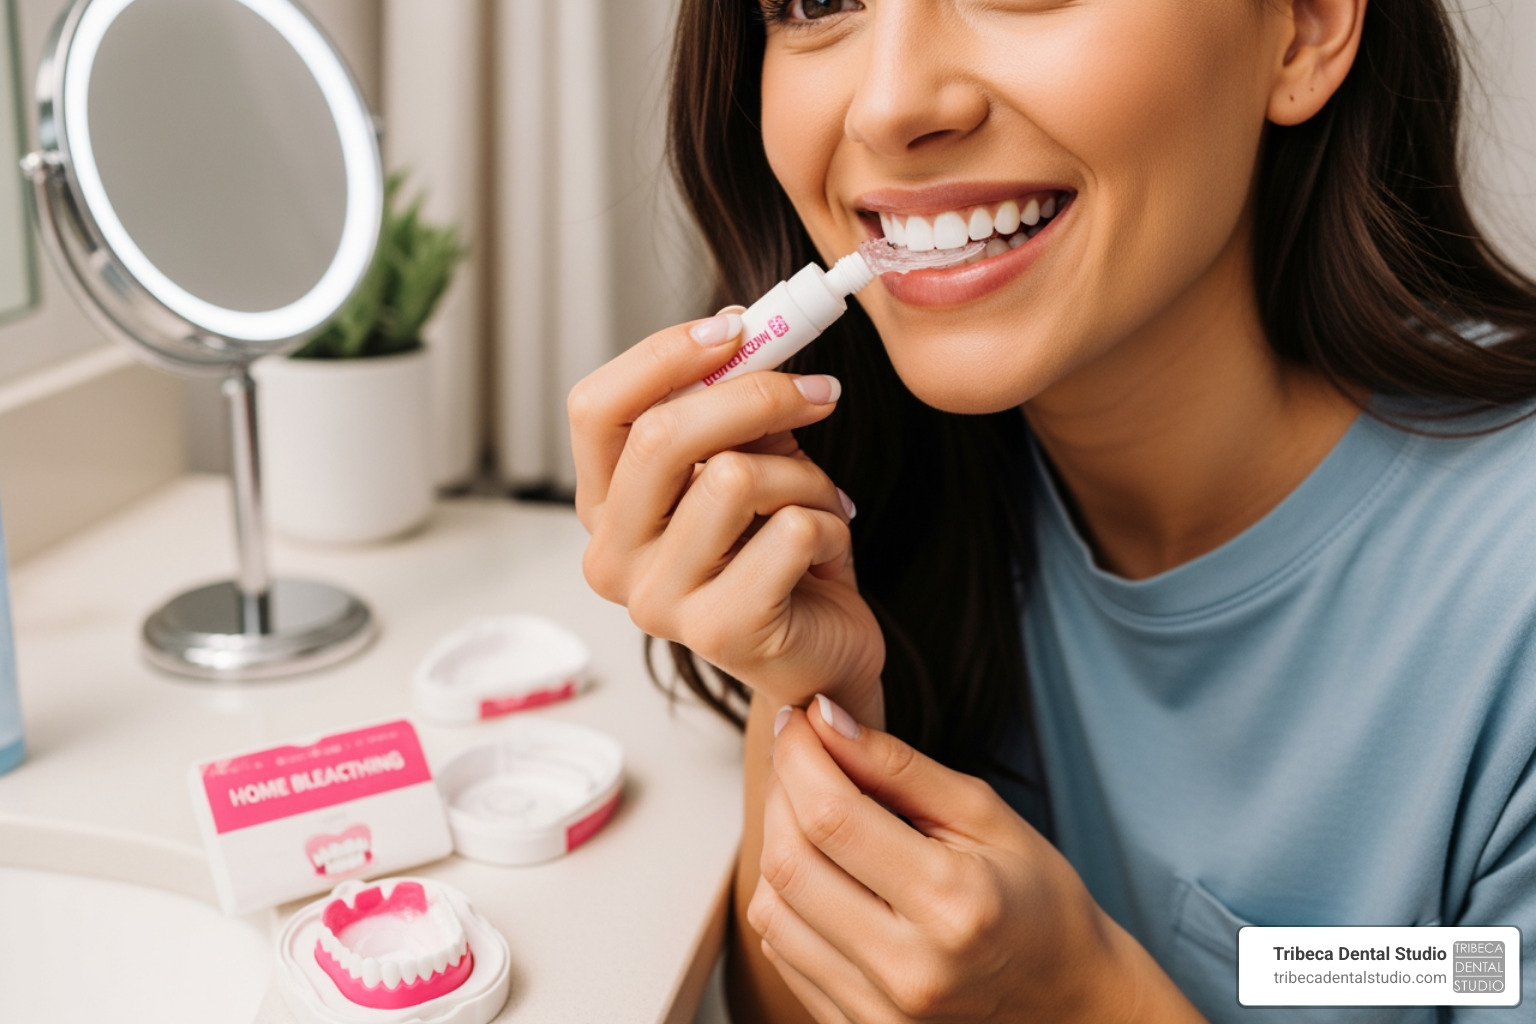
Bleaching teeth at home is one of the most popular ways to get a brighter smile — without a dentist visit. Here’s a quick overview of how it works:
At-home teeth bleaching at a glance:
- What it is: Using peroxide-based products (gels, strips, trays, or pens) to lighten tooth color
- How it works: Bleaching agents like hydrogen peroxide or carbamide peroxide break down stains inside the enamel
- Most effective products: Whitening strips, custom trays, and LED kits
- Typical results: 2–18 shades whiter, depending on the product and stain type
- Main risks: Tooth sensitivity and gum irritation — both usually temporary
- Who should skip it: Children under 16, pregnant women, and those with gum disease, cavities, or dental restorations
Teeth naturally darken over time. Age, coffee, tea, red wine, and tobacco all leave their mark — literally. Some stains sit on the surface of the enamel (extrinsic stains), while others go deeper into the tooth structure (intrinsic stains). The type of stain you have matters a lot when choosing a whitening method.
The good news? For most people, at-home bleaching products work well and are safe when used correctly. But not every product is right for every person — and some popular “natural” remedies can actually do more harm than good.
This guide covers everything you need to make a smart, safe choice.
I’m Dr. Nina Izhaky, a graduate of NYU College of Dentistry and the founder of Tribeca Dental Studio — I’ve helped many patients navigate bleaching teeth at home and find solutions that fit their unique smile. As a cosmetic dentist with hands-on experience in professional and at-home whitening, I’ll walk you through what actually works, what to avoid, and when it’s worth seeing a professional.

Bleaching teeth at home terms simplified:
How Bleaching Agents Work: The Science of a Brighter Smile
When we talk about bleaching teeth at home, we are really talking about a chemical reaction. Most products rely on two main active ingredients: hydrogen peroxide and carbamide peroxide. While they sound like something from a high school chemistry lab, they are the gold standard for lifting deep-set stains.
According to Health Link BC, carbamide peroxide is essentially a carrier for hydrogen peroxide. When it touches your teeth, it breaks down into hydrogen peroxide and urea. Hydrogen peroxide is the “fast-acting” worker that does the heavy lifting. It works through a process called oxidation.
Imagine the stains on your teeth as long, dark molecular chains called chromophores. When the peroxide penetrates your porous enamel, it releases reactive oxygen molecules. These molecules attack those dark chains, breaking them into smaller, colorless fragments. This doesn’t just scrub the surface; it actually changes the chemical structure of the stains within the tooth.
While most home kits focus on the external surface, some discolorations happen from the inside out. For example, a tooth that has had a root canal may turn gray or dark over time. In these cases, we often use Internal Tooth Bleaching during root canal therapy to whiten the tooth from the inside, as external gels can’t reach those deep-seated internal stains.
Choosing the Best Methods for bleaching teeth at home
Walking down the dental aisle at a New York City pharmacy can be overwhelming. There are dozens of boxes promising “professional results,” but they aren’t all created equal. Choosing the right method for bleaching teeth at home depends on your goals, your budget, and how much time you want to spend.
Whitening Strips
These are perhaps the most popular choice because they are easy to find and use. Strips are coated with a peroxide gel and pressed against the teeth. Because they wrap around the teeth, they provide consistent contact. Products like Crest 3D Whitestrips Radiant Express can lighten teeth by up to 18 shades in two weeks, with some users seeing a difference in just one hour.
Custom-Fitted Trays
For the most even results, we often recommend dentist-provided custom trays. We take an impression of your mouth to create a tray that fits your teeth perfectly. This ensures the gel stays on your teeth and off your sensitive gums. These allow for a More Effective Way to Whiten Teeth because the seal prevents saliva from diluting the bleach.
LED Accelerator Kits
Kits like the Colgate Optic White ComfortFit LED use light technology to speed up the chemical reaction of the peroxide. While the light itself doesn’t whiten, it acts as a catalyst, helping the gel work faster. Some kits claim to remove 10 years of stains in just three days.
Whitening Pens
These are great for targeted touch-ups or “on-the-go” whitening. The Colgate Optic White Overnight Pen is designed to be brushed on before bed, allowing the active ingredients to work while you sleep.
To help you decide, here is a breakdown of how these methods compare:
| Method | Peroxide Concentration | Application Time | Best For |
|---|---|---|---|
| Whitening Strips | 6% – 14% | 30 – 60 mins/day | Convenience & Speed |
| Custom Trays | 10% – 35% | 30 mins to Overnight | Even, Deep Whitening |
| LED Kits | Variable | 10 – 20 mins/day | Tech-lovers & Fast results |
| Whitening Pens | Low to Medium | Seconds to apply | Touch-ups & Specific spots |
Regardless of which you choose, always look for the American Dental Association (ADA) Seal of Acceptance. This seal means the product has been independently tested and found to be both safe and effective when used as directed.
Safety and Side Effects of bleaching teeth at home
Safety is our top priority at Tribeca Dental Studio. While bleaching teeth at home is generally safe, it isn’t without side effects. The two most common issues are tooth sensitivity and gum irritation.
Sensitivity happens because the peroxide temporarily opens the microscopic pores (tubules) in your enamel, allowing sensations to reach the nerves inside your teeth. Gum irritation usually occurs if the bleaching gel leaks out of a tray or strip and sits on the soft tissue.
To manage this, many modern whitening gels include Ingredients shown to reduce sensitivity like potassium nitrate and amorphous calcium phosphate. These ingredients help “plug” those open tubules or calm the nerve.
Pro-tips for a safer experience:
- Use a sensitivity toothpaste (like Sensodyne) for two weeks before you start whitening.
- Don’t overfill your trays; less is more.
- If your teeth start to ache, take a day or two off. The results will still happen, just a little slower.
- Follow the Health Canada Guidelines and never leave products on longer than the instructions suggest, as this can lead to enamel erosion.
Who Should Avoid bleaching teeth at home?
Whitening is a cosmetic boost, but it isn’t for everyone. Some people should hold off on bleaching teeth at home until they’ve consulted with us.
- Children and Teens: The Ontario Dental Hygienists’ Association notes that children should not whiten their teeth until the tooth pulp is fully formed (usually around age 16). Their teeth are much more sensitive than adult teeth.
- Dental Restorations: This is a big one. Bleaching agents only work on natural enamel. They will not whiten crowns, veneers, or composite fillings. If you whiten your teeth but have a crown on a front tooth, that crown will stay the same color while the rest of your smile lightens, leading to an uneven look.
- Pregnancy: While there is no definitive proof of harm, most dentists recommend waiting until after pregnancy and breastfeeding to start a whitening regimen as a precaution.
- Underlying Issues: If you have active gum disease or untreated cavities, the bleaching gel can seep into those areas and cause intense pain or further damage. Always get a clean bill of health before you start.
Natural Remedies vs. Over-the-Counter Products
In the age of social media, “natural” teeth whitening hacks are everywhere. People swear by everything from charcoal to fruit. But do they actually work?
We’ve put together a Complete Guide to Natural Teeth Whitening to separate fact from fiction. Here is the reality of some common DIY methods:
- Baking Soda: This is a mild abrasive that can help scrub away surface (extrinsic) stains. It’s effective for cleaning, but it won’t change the actual color of your teeth like peroxide will.
- Oil Pulling: Swishing coconut oil for 15-20 minutes is a popular trend. While it might help reduce bacteria in the mouth, there is very little scientific evidence that it actually whitens teeth.
- Hydrogen Peroxide Rinses: Diluted peroxide can help maintain whiteness, but its contact time is so short (usually 60 seconds) that it won’t provide dramatic results compared to a gel or strip.
- Apple Cider Vinegar: Be very careful here. The high acidity of vinegar can strip away your enamel, which actually makes your teeth look more yellow because the yellowish dentin underneath becomes visible.
- Charcoal Toothpaste: We generally advise against this. Charcoal is highly abrasive. While it might remove some surface stains initially, it can thin your enamel over time. Once enamel is gone, it doesn’t grow back.
For more truths about these methods, check out our post on Teeth Whitening Myths Debunked.
Professional vs. At-Home Bleaching: What to Expect
The biggest difference between bleaching teeth at home and getting it done in our Tribeca office is the concentration of the active ingredients.
Over-the-counter products are generally capped at about 10% hydrogen peroxide to ensure they are safe for unsupervised use. In contrast, professional in-office treatments can use concentrations up to 35%. This means we can achieve in 45 minutes what might take two weeks of at-home strips to accomplish.
What to Expect from Home Bleaching:
- Timeline: You will usually see subtle changes in 3-5 days, with full results after 10-14 days.
- Maintenance: Results aren’t permanent. Depending on your habits, they can last anywhere from 3 to 12 months.
- The “White Diet”: To keep your results, we recommend avoiding staining foods like coffee, red wine, soy sauce, and tobacco for at least 48 hours after a whitening session.
Many people ask, “Does Whitening Mouthwash Work?” The short answer is: not for dramatic whitening. It is, however, an excellent tool for maintaining your results after you’ve finished a bleaching program.
Frequently Asked Questions About At-Home Bleaching
How long do at-home teeth bleaching results last?
Typically, results last between 6 months and a year. If you are a heavy coffee drinker or a smoker, you may notice the brightness fading sooner. Using a whitening toothpaste and getting regular professional cleanings can help extend the life of your new smile.
Is at-home bleaching safe for tooth enamel?
Yes, when used as directed. Peroxide-based whiteners have been studied for decades and are considered safe for enamel. The danger comes from overuse or using highly acidic DIY “remedies” that can cause Effective Teeth Whitening to turn into enamel damage.
Will bleaching work on my dental crowns or fillings?
No. Bleaching agents are designed to react with the organic material in natural tooth enamel. Inorganic materials like porcelain, ceramic, and composite resin will not change color. If you’re planning on getting new crowns or fillings, we usually recommend whitening your natural teeth first so we can match the new restoration to your brighter shade.
Conclusion
Bleaching teeth at home is a fantastic way to refresh your look and boost your confidence. Whether you choose the convenience of strips or the precision of a kit, the key is to be consistent and safe.
However, everyone’s teeth are different. What works for your friend might cause you sensitivity, or might not work on your specific type of staining. That’s why we believe in a personalized approach to dentistry. At Tribeca Dental Studio, Dr. Nina Izhaky and our team treat every patient like family. We can help you determine if you are a good candidate for home whitening or if a professional treatment would be a better investment for your specific goals.
Before you start your journey to a brighter smile, why not come in for a check-up? We can ensure your enamel is healthy and your gums are ready for whitening. Discover the Power of Professional Teeth Whitening at Tribeca Dental Studio and let us help you achieve the radiant smile you’ve always wanted.