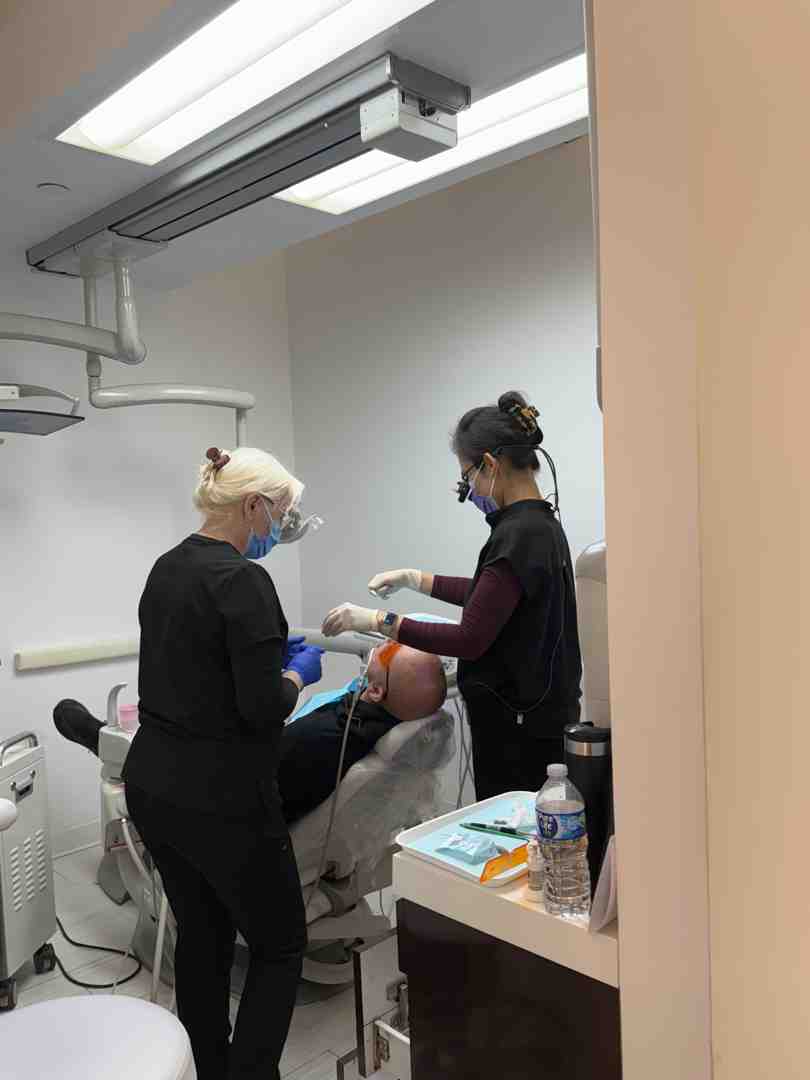
When a Tooth Can’t Wait: What You Need to Know About Temporary Fillings
A temporary tooth filling is a short-term dental repair used to protect a damaged or treated tooth until a permanent restoration is ready. Here’s a quick overview:
What is a temporary tooth filling?
- A soft, removable material placed in a tooth cavity or over a treated area
- Protects the tooth from bacteria, pain, and further damage
- Designed to last roughly 4 to 8 weeks under normal conditions
- Always meant to be replaced with a permanent filling or crown
Common reasons you might need one:
- A filling fell out or a crown came loose
- You’re waiting for a dental crown to be made
- You just had a root canal
- You have a deep cavity that needs a medicated lining first
What to do right now:
- Avoid hard, sticky, or crunchy foods on that side of your mouth
- Brush gently with a soft-bristled toothbrush
- See your dentist as soon as possible — temporary fillings are not a permanent fix
Dental emergencies rarely happen at a convenient time. A filling cracks on a Friday evening. A crown comes loose before a big trip. Suddenly you’re dealing with sensitivity, discomfort, and a gap in your tooth where bacteria can sneak in. It’s stressful — and knowing what to do next matters.
That’s exactly what this guide is for. Whether you’re managing a short-term repair at home or waiting for your next dentist appointment, understanding your options helps you protect your tooth and avoid making things worse.
I’m Dr. Nina Izhaky, founder of Tribeca Dental Studio and a graduate of NYU College of Dentistry, and I’ve helped many patients navigate temporary tooth filling situations — from emergency repairs to complex restorations — using the latest materials and techniques. At Tribeca Dental Studio, we believe no patient should have to guess what comes next when a dental issue arises.
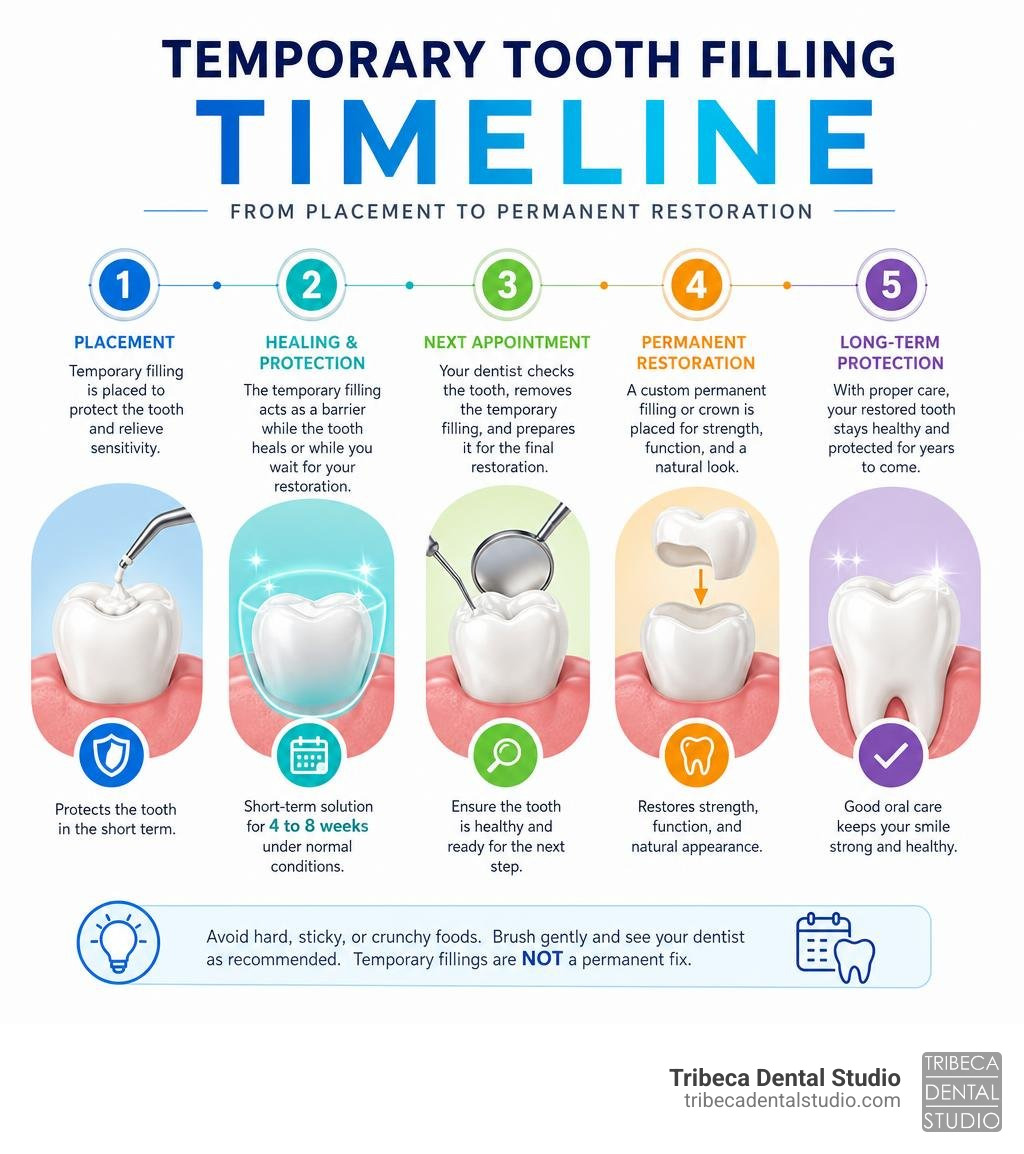
Temporary tooth filling vocab explained:
What is a Temporary Tooth Filling?
A temporary tooth filling acts as a therapeutic band-aid for a damaged, decayed, or freshly treated tooth. Unlike permanent fillings, which are designed to withstand years of heavy chewing, a temporary filling is engineered to be easily placed, easily removed, and highly protective for a limited window of time.
Think of it as a protective barrier. When dental decay or trauma exposes the inner layers of your tooth (the dentin and pulp), your nerves are left vulnerable to hot, cold, sweet, and acidic foods. A temporary filling seals this sensitive environment, preventing bacteria from invading and causing painful infections.
Because they are intended to be short-term, these fillings are made of softer materials. They do not bond as aggressively to your enamel as permanent resins or ceramics do, making it simple for us to remove them when you return for your final restoration.
To help you understand the core differences, we have outlined how temporary and permanent fillings compare:
| Feature | Temporary Filling | Permanent Filling |
|---|---|---|
| Primary Purpose | Short-term protection, nerve sedation, and sealing between multi-step procedures | Long-term functional restoration and aesthetic rebuilding of the tooth |
| Lifespan | Typically 4 to 8 weeks (some professional materials up to a few months) | 10 to 15+ years with proper care and hygiene |
| Materials Used | Zinc oxide eugenol (ZOE), Cavit, glass ionomer, temporary acrylics | Composite resin, porcelain (inlays/onlays), gold, or amalgam |
| Bonding Strength | Weak/moderate; designed for easy removal without damaging the tooth | High-strength dental adhesive bonded and cured with a specialized light |
| Placement Time | Fast (often takes only a few minutes to apply and shape) | Requires precise tooth preparation, layering, shaping, and polishing |
If you want to dive deeper into how these short-term solutions fit into your overall dental care plan, you can read More info about temporary fillings.
When Do You Need a Temporary Tooth Filling?
There are several scenarios where we utilize a temporary tooth filling to manage your oral health. It is rarely a standalone treatment; instead, it is a crucial stepping stone in a broader treatment plan.
- Root Canal Therapy: Root canals often require multiple appointments, especially if we need to place medication inside the tooth to clear out a stubborn infection. Between these visits, a temporary filling seals the access cavity so food particles and saliva do not contaminate the sterile root canals.
- Crown Preparation: Getting a dental crown is a multi-step process. During your first visit, we shape the tooth and take an impression. While a state-of-the-art laboratory fabricates your custom porcelain crown, we place a temporary crown secured with temporary cement to protect the exposed dentin. For more details on this process, check out More info about dental crowns.
- Emergency Toothache Relief: If you experience sudden pain from a deep cavity or a broken tooth over the weekend, a temporary restoration can seal off the exposed nerve endings, providing immediate relief until we can perform a comprehensive evaluation. Learn more about managing these situations by reading More info about cavity care.
- Deep Decay and “Symptom Tracking”: Sometimes, decay sits very close to the tooth’s nerve. In these cases, we may place a medicated temporary filling containing soothing agents to see if the nerve can heal itself. If the tooth remains pain-free for a few weeks, we can confidently place a permanent filling, potentially saving you from needing a root canal.
Common Materials Used in a Temporary Tooth Filling
The materials chosen for temporary restorations are uniquely formulated to be gentle on irritated nerves, quick to set, and easy to drill out later.
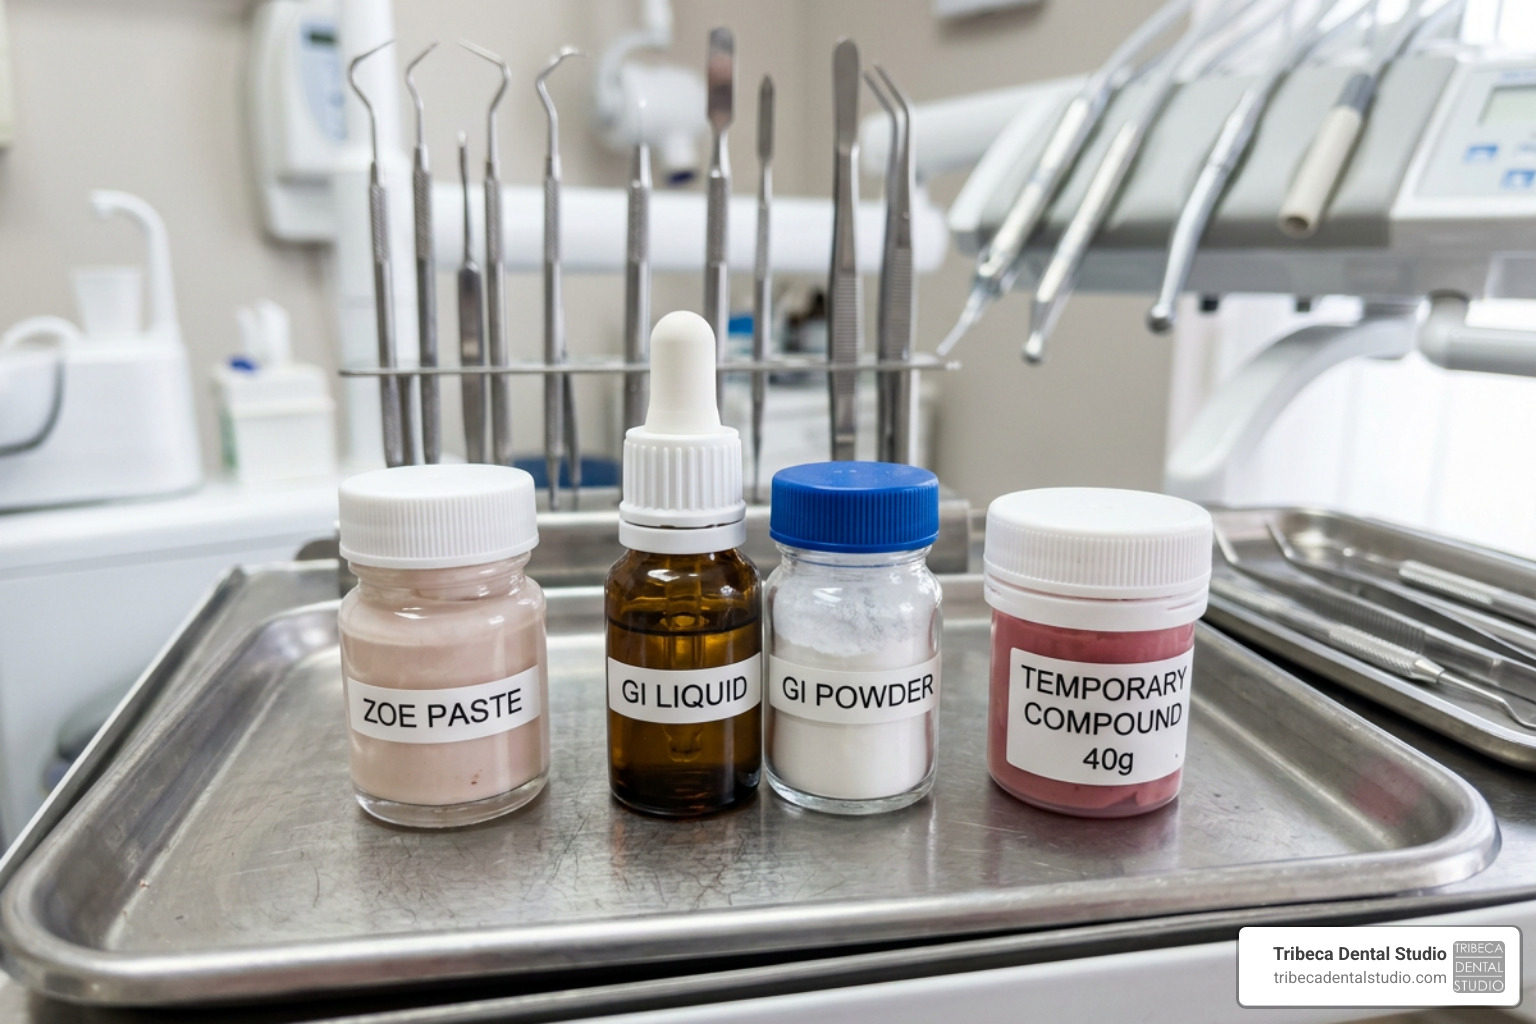
The three most common professional materials include:
- Zinc Oxide Eugenol (ZOE): This is one of the most popular choices in emergency dentistry. Eugenol is a natural derivative of clove oil, which possesses remarkable natural sedative and antibacterial properties. When mixed with zinc oxide, it forms a paste that gently soothes irritated dental nerves while keeping bacterial growth at bay. ZOE cement temporary restorations typically last 1 to 4 weeks under normal chewing conditions.
- Glass Ionomer: Known for its ability to release fluoride, glass ionomer is an excellent choice for temporary fillings. The fluoride helps strengthen the remaining tooth structure and prevents secondary decay. It is slightly more durable than ZOE, making it ideal if your permanent appointment is a few weeks away.
- Cavit: This is a pre-mixed, self-curing temporary sealing compound that many dental offices keep on hand. It is incredibly convenient because it reacts with oral moisture to harden on its own. It expands slightly as it sets, creating an exceptionally tight marginal seal against saliva and bacteria.
For an in-depth look at how these substances function in survival or off-grid emergency scenarios, you can read this guide on temporary dental filling materials. To explore how they compare to the materials we use for long-term restorations, read More info about filling materials.
How Long Do Temporary Fillings Last?
A temporary tooth filling is not built to survive the test of time. On average, a professional temporary filling is designed to last around 4 to 8 weeks. However, its actual lifespan depends heavily on the specific material used, where the tooth is located in your mouth, and your personal chewing habits.
For example, a ZOE cement temporary filling is softer and generally lasts 1 to 4 weeks before it begins to dissolve or wear down from the constant friction of eating. Other materials, like glass ionomers or specialized bis-acryl composites, can remain intact for several months if cared for properly.
Because temporary materials are porous and do not chemical-bond to the tooth with the same strength as permanent composites, they are highly susceptible to wear and tear. Over time, the constant exposure to warm saliva, acidic foods, and biting forces will cause the edges of the filling to slowly wash away. Once this marginal seal is compromised, bacteria can slip underneath, leading to new decay or infection.

Regularly monitoring your temporary restoration is vital. If you notice the filling feels lower, has developed a rough edge, or has chipped, it is time to have it evaluated. To learn more about when fillings need to be replaced, read More info about filling lifespan.
How to Care for Your Temporary Filling
Because temporary fillings are soft and lack the strong adhesive bonds of permanent restorations, they require a little extra TLC to keep them in place. A single bite of the wrong food or a careless flossing session can pull the filling right out of your tooth.
Follow these practical daily care guidelines to protect your temporary restoration:
- Wait to Eat: If you received local anesthesia during your appointment, wait to eat until the numbness has completely worn off. Biting your tongue or cheek while numb can cause painful soft-tissue injuries. Additionally, some temporary materials take a couple of hours to fully cure, so try to avoid chewing on that side of your mouth for at least 24 hours.
- Watch What You Chew: Avoid hard, crunchy, or sticky foods entirely on the side of your mouth with the temporary filling. This means staying away from:
- Chewing gum, toffee, caramel, and sticky peanut butter
- Hard candies, ice, nuts, and raw carrots
- Tough, chewy meats or crusty bread
- Brush Gently: Continue to brush the area to keep bacteria from building up, but use a soft-bristled toothbrush and a gentle hand. Avoid using electric toothbrushes directly over the temporary filling, as the high-frequency vibrations can sometimes loosen the material.
- Modify Your Flossing Technique: Flossing is essential, but popping the floss straight up and down next to a temporary filling is a recipe for disaster. Instead, slide the floss gently between your teeth, clean the area, and then pull the floss out through the side rather than pulling it back up.
For more tips on navigating life with a new restoration, check out More info about filling care.
At-Home Emergency Repairs: OTC Options and Instructions
If you lose a filling or a crown over the weekend, during a holiday, or while traveling away from Manhattan, you do not have to suffer in discomfort. Over-the-counter (OTC) dental repair kits can provide excellent short-term relief until you can get into our office.
Two highly reliable, widely available retail options include:
- Dentemp Cap + Filling Repair: A classic, pre-mixed formula containing eugenol to help sedate the tooth nerve and relieve mild pain.
- CVS Health Dentist Strength Temporary Lost Filling & Loose Cap Repair: A robust, easy-to-use temporary cement designed to quickly patch cavities or temporarily re-secure loose crowns.
Step-by-Step Instructions for Replacing a Lost Filling:
- Clean the Area: Rinse your mouth thoroughly with warm salt water to clear away any food debris.
- Keep it Moist: Gently clear major pooling saliva, but do not dry the tooth completely. Many OTC temporary filling materials require a tiny bit of moisture to set properly.
- Prepare the Material: Using clean hands, scoop a small amount of the pre-mixed paste from the container and roll it into a small ball between your wet fingers.
- Apply and Press: Place the ball directly into the cavity. To keep the material from sticking to your finger, scrape your finger sideways across the edge of your tooth to disengage.
- Adjust the Bite: Bite down gently several times to ensure the temporary filling matches the height of your surrounding teeth. If it feels too high, use a wet cotton swab to wipe away the excess. An elevated bite will cause extreme sensitivity and pain with every chew.
- Let it Set: Avoid chewing on the repaired tooth for at least 2 to 3 hours to allow the material to fully harden.
What to Do If You Lose a Crown or Cap:
If your crown falls off, never use superglue or household adhesives to put it back. These chemicals are toxic and can destroy your underlying tooth structure. Instead:
- Clean the inside of the crown and the exposed tooth gently with warm water.
- Apply a very thin, even layer of OTC temporary dental cement (like Dentemp or CVS repair gel) along the upper inside walls of the crown.
- Place the crown carefully back onto your tooth, pressing firmly.
- Bite down gently to make sure it is seated in the correct position. Wipe away any excess cement that squeezes out around the gums with a moist cotton swab.
Note: These OTC fixes are strictly emergency measures. You should still schedule an appointment with us within 48 hours to prevent bacteria from colonizing beneath the temporary repair.
Risks of Delaying a Permanent Restoration
It is easy to fall into a false sense of security once a temporary filling is placed and your tooth stops hurting. However, leaving a temporary restoration in your mouth for too long carries significant risks.
Because these materials are soft and porous, they naturally degrade over time. If you delay your follow-up appointment, you expose your mouth to several serious complications:
- Reinfection: As the temporary material wears down, microscopic gaps open up around the edges. Saliva and bacteria will seep into these spaces, causing rapid decay underneath the temporary filling. This can quickly turn a simple cavity into a painful nerve infection.
- Tooth Fracture: A tooth that requires a temporary filling is already structurally weakened. Temporary fillings do not provide structural reinforcement. Without a strong, custom-bonded composite filling, inlay, onlay, or porcelain crown to support it, the remaining natural tooth structure is highly susceptible to cracking or splitting under biting pressure.
- Nerve Damage: If bacteria successfully breach the temporary seal and reach the tooth’s inner pulp chamber, they can cause irreversible damage to the nerve, resulting in severe pain, abscesses, and the need for an emergency root canal or extraction.
If you suspect your temporary restoration has compromised your tooth or if you have missed your follow-up window, read More info about cracked fillings and check out our More info about emergency dental care to protect your smile.
Safety Considerations and Contraindications
While temporary fillings are incredibly helpful, they are not suitable for every situation. There are several safety considerations to keep in mind:
- Eugenol Allergies: Many OTC products and professional ZOE cements contain eugenol (clove oil). If you have a known allergy to cloves or eugenol, you must avoid these products, as they can cause localized swelling, redness, and allergic reactions in your gums and oral tissues.
- Pregnancy: If you are pregnant, always consult your obstetrician before using any OTC dental repair kits. While the materials are generally non-toxic, it is always safest to coordinate all dental treatments through your medical team.
- Active Infections: Never place a temporary filling over an actively infected tooth. If you are experiencing throbbing pain, visible swelling in your face or gums, or a pimple-like bump on your gums (an abscess), do not seal the tooth. Trapping an active infection inside a sealed tooth prevents pus and pressure from draining, which will rapidly worsen your pain and can lead to a severe systemic infection. If you experience these symptoms, seek professional emergency dental care immediately.
Frequently Asked Questions about Temporary Fillings
How can I tell if my temporary filling fell out or needs to be replaced?
You can usually tell if a temporary filling has dislodged by running your tongue gently over the tooth. If you feel a sharp edge, a deep crater, or notice that food is suddenly trapping in the area, the filling has likely fallen out or worn down. You may also experience a sudden return of sensitivity to hot, cold, or sweet foods.
Can I eat normally with a temporary filling?
No, you should make minor adjustments to your diet while wearing a temporary filling. Stick to soft foods, chew primarily on the opposite side of your mouth, and completely avoid sticky, gummy, or excessively hard foods. Always wait until any local anesthesia has completely worn off before attempting to eat.
Is a temporary filling safe if accidentally swallowed?
Yes. Popular over-the-counter materials like Dentemp and professional ZOE cements are non-toxic, gluten-free, and safe if accidentally swallowed in small quantities. The material will simply pass through your digestive system naturally. However, you will still need to visit the dentist promptly to have the lost filling replaced.
Conclusion
A temporary tooth filling is an invaluable tool for providing short-term relief and protection, but it is only the first step on your journey back to complete oral health. To ensure your smile remains strong, functional, and beautiful, you need a highly skilled dental team to transition your temporary work into a durable, beautiful permanent restoration.
At Tribeca Dental Studio in Manhattan, New York City, we provide advanced, comprehensive, and exceptionally welcoming oral healthcare. Led by Dr. Nina Izhaky, our team treats every patient like family, taking a highly personalized approach to your dental care.
For patients requiring comprehensive restorative care, we are proud to offer the specialized expertise of Dr. Sam Morhaim, a trusted leader in advanced implant dentistry, zygomatic implant care, and full-mouth reconstruction. Whether you need a beautifully crafted porcelain crown, a state-of-the-art dental implant, or a complete smile transformation, our practice stands behind the quality of its work and is deeply committed to predictable, life-changing outcomes.
Dr. Nina Izhaky and the Tribeca Dental Studio team bring a careful, detail-oriented approach to every tooth filling, whether you need a temporary repair, a replacement filling, or a long-term restorative solution. Their goal is to preserve as much healthy tooth structure as possible, restore comfortable chewing, and create a natural-looking result that blends with your smile. With advanced materials, precise technique, and a patient-first approach, the team helps make the filling process feel clear, comfortable, and confidence-building from start to finish.
Do not let a temporary patch turn into a permanent problem. Schedule a consultation for dental fillings in NYC with our experienced team at Tribeca Dental Studio today, and let us help you achieve a healthy, confident smile that lasts.